Ultraviolet Treatment for Home Rainwater Systems

raindrops

Ultraviolet (UV) is the logical choice for rainwater harvesting systems that supply water to homes.

When rainwater is held in a cistern to be pumped to the home, it is subject to microbial contamination.  Standing water will eventually produce some microbes.  The logical choice to assure that it is safe for drinking is to run it through an ultraviolet purifier on its way to the point of use.  UV eliminates bacteria, cysts (giardia and cryptosporidium), and most water-borne viruses.

UV is a perfect addition to rainwater systems because it is a clean, easy-to-use technology that does not add chemicals or objectionable tastes or odors to the water. UV produces no by-products.

Since rainwater is naturally soft and iron-free, the only pre-treatment needed is a sediment filter in front of the UV unit to assure that the water is particulate-free.  Adding a carbon prefilter can improve the taste and odor, but it is not essential.

UV needs 110 volt electricity, and it should be installed as close to the point of use as possible. UV on rainwater applications is virtually trouble-free. There are never chemicals to add. The only regular maintenance is a lamp change once a year.

Ultraviolet Water Treatment for City Water

For owners of private wells, at one time the only method for dealing with common bacterial issues was chlorination. Well owners either “shocked” their well with chlorine from time to time or installed permanent chlorination, which consisted of a chemical pump injecting chlorine and a large retention tank to give the chlorine time to work.

In recent years controlling microbial contamination with a more modern approach, the ultraviolet germicidal lamp, is becoming the method of choice. What is more, UV, which was once considered almost exclusively a well water treatment,  has now become a common fixture of residential water treatment for city water users.

This has happened because of increasing awareness of city water microbial issues. Boil water alerts, broken water pipes, awareness of crumbling infrastructure, the presence of microbes that are not handled by chlorination, and a general mistrust of water suppliers to solve all problems have all contributed to increased demand for UV units for city homes.

In response to demand for city water units, there are now many excellent point of entry (whole house) UV systems that combine UV disinfection with one or two generously sized filters to treat not only sediment but also taste, odor, chlorine (or chloramine), chemical contaminants and even such difficult city water issues as lead.

viquavh410F20

The Classy Viqua VH420-F20 UV Unit

A good example of the fine UV units now available is the moderately-priced 18-gallon-per-minute ultraviolet unit shown above.  It’s an ideally sized UV system for all but the very largest residential users, treating a generous 18 gallons of water per minute for bacteria, cysts, and viruses at a strong 30 mJ/cm2 UV dosage.

The VH420 unit comes with its own 5 micron sediment filter, conveniently mounted on a U-shaped rack that can be pointed in either direction to meet the installer’s requirements. It is backed by the many years of experience behind the Sterilight and Trojan brands, now merged under the Viqua name.

The dosage rating for this powerful residential unit is 16mJ/cm2 @ 34 gallons per minute (twice as strong as needed to eliminate E. coli), 30mJ/cm2 @ 18 gallons per minute, or 40mJ/cm2 @ 14 gallons per minute.

The unit’s 5 micron sediment filter is mounted in the unique Viqua easy-service housing (see picture below) that accepts all standard radial flow 4.5″ X 20″ cartridges. See full details on the filter housing here.  The high quality Viqua UV lamp is equally easy to service.  Lamp change can be done without turning off the service water.


viqua_housings_ring_306

The advanced Viqua filter housing has a bottom plug that allows you to drain water from the housing before opening the sump. This makes for an easy, no-spill cartridge change. The unique housing accepts all 4.5″ X 20″ sediment and carbon block cartridges.  

In addition to the two-stage rack-mounted system, there are three-stage systems with a sediment filter, a carbon block filter, and the UV chamber. Viqua now offers a city water system with a lead removal carbon block as well.

Disinfecting Pipes After UV Installation

Unlike chemical disinfectants like chlorine and chloramine, ultraviolet does not provide a residual protection: UV disables microbes as they pass the germicidal lamp, but if there is microbial contamination downstream of the UV lamp, bacteria can continue to grow.

It is necessary, therefore, to disinfect house pipes with chlorine when a UV unit is initially installed or when for any reason infection of the home’s pipes occurs.

Here’s how:

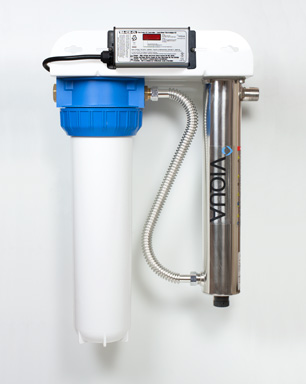
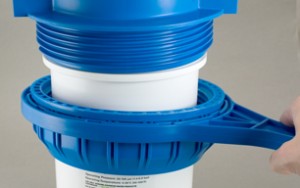
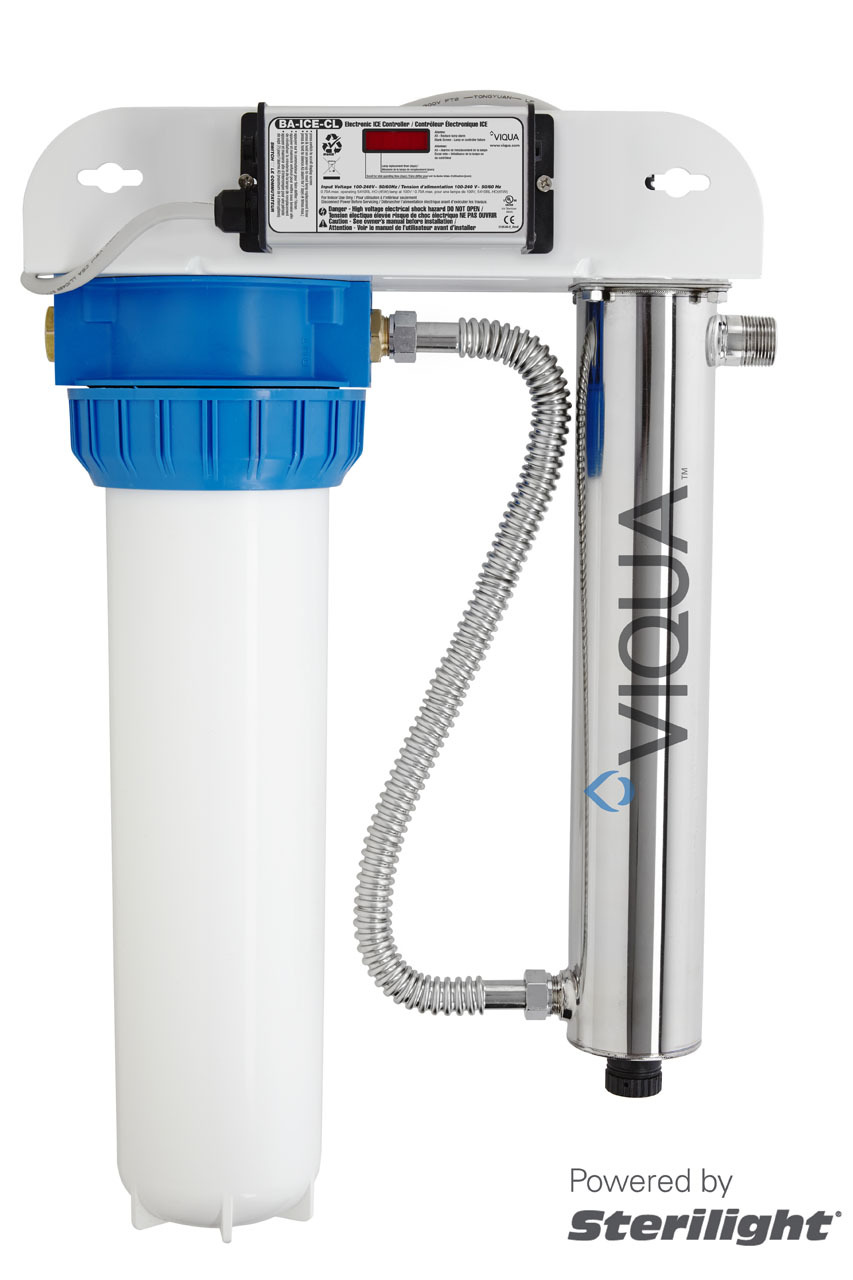
Turn the UV unit turned off.  Turn off the water going to the home, then add chlorine–regular household bleach–to the water line upstream of the UV unit. Two cups of household bleach is a good amount unless the home or building is very large. Since the UV unit will normally have filter housing in front of it, the easy way to add bleach is to remove the cartridge from the housing, pour in the bleach, reassemble the housing without the cartridge, and turn the water back on. (Keep in mind that if there is a carbon cartridge between the point of chlorination and the UV unit, the filter will remove the chlorine from the water, so be sure you remove the cartridge.)

VH410-F20-A

With most UV systems, the easy way to add chlorine for disinfection is to remove the cartridge from the filter housing,  pour bleach into the housing, turn on the water and let the bleach circulate past the UV unit into the house pipes.

Chlorinate the house lines by opening each faucet in the home and letting the water run until you smell chlorine coming from the faucet.  Do this for every showerhead, toilet, outside tap, and appliance. Start with the farthest away tap and work back to the UV system. Repeat for the hot water lines. If you run out of bleach (or cannot smell bleach) at a given outlet, turn off the main water supply and add more bleach to the filter housing.

Give the chlorine time to work.  Let the chlorine sit in the pipes for at least two hours.

Turn off the water, replace the filter cartridge, turn on the UV (this is important!), turn on the water and flush the chlorine out of the house lines.  When the chlorine is gone, you can start using the water.

When to repeat the procedure.

This process should be repeated if contaminated water ever gets past the UV system. After seasonal shut-off; after UV by-pass is used; after power outage, if no solenoid present; after prolonged alarm condition, if no solenoid is present. You can safely skip this procedure if you are installing UV on municipal water that has been continually chlorinated.

If performing the above procedure fails to produce a “passing” bacteria test, the first thing to suspect is that your house plumbing has “dead ends.” This would be pipes that have been capped off so that there is no water flow through them. If such dead ends exist, you may have to open them so that chlorinated water can flow through during the disinfection process.

Sometimes hot water heaters require more disinfection time than standard house pipes because buildup of such contaminants as manganese and iron can interfere with the disinfection process.

Keep in mind that with sophisticated UV systems which monitor UV transmittance, excess chlorine in the water can actually trigger a low performance warning and, if the unit has a solenoid, can actually shut the water off. In this case, you will need to override the solenoid to perform the disinfection procedure.


Q